Blog-as-Code - Meet Jekyll, Chirpy and friends (Part 1)
Before I jump into writing about my Home Server environment, I thought I would write about how I created (and will maintain) this site. Using a technique I’m calling “Blog-as-Code”. To achieve this I use a number of awesome tools and projects to manage, generate, and host this site (for FREE 😍).
I write these articles in a follow along style, so that hopefully you can create or re-use aspects of what I write about in your own environment.
So lets break down the different components:
Jekyll is a static site generator that transforms plain text into beautiful static websites and blogs, and is the foundation of our “blog-as-code” approach. Turning the markdown files we use to write articles, into webpages like you’re reading now.
Chirpy an awesome text-focused theme for Jekyll created by Cotes Chung. Or more specifically his amazing Chirpy Starter template that automates the creation and updates of our site going forward using GitHub Actions our first foray into CI/CD using GitHub.
GitHub Pages and an underlying Github repo will be use to store and host everything related to our site.
Giscus is a comments system powered by GitHub Discussions, that allows visitors to leave comments and reactions to articles (all stored in our same GitHub repo!)
Okay so there’s a few moving parts, but don’t stress thanks to Cotes we will be up and running quickly, and only have to edit a few files to get started.
So let’s start creating our “Blog-as-Code” site.
STEP 1: Chirpy Starter
To quickly get things up and running we are going to use the awesome (I have to say it again!) Chirpy Starter template. This will automagically create a new GitHub repo based on the Chirpy Starter template.
So before you start make sure you have your own GitHub account setup
This tempalte includes everything we will need (Jekyll, Chirpy theme, GitHub Action etc).
Sign in to GitHub, and browse to Chirpy Starter.
Click Use this template > Create a new repository, in the top right
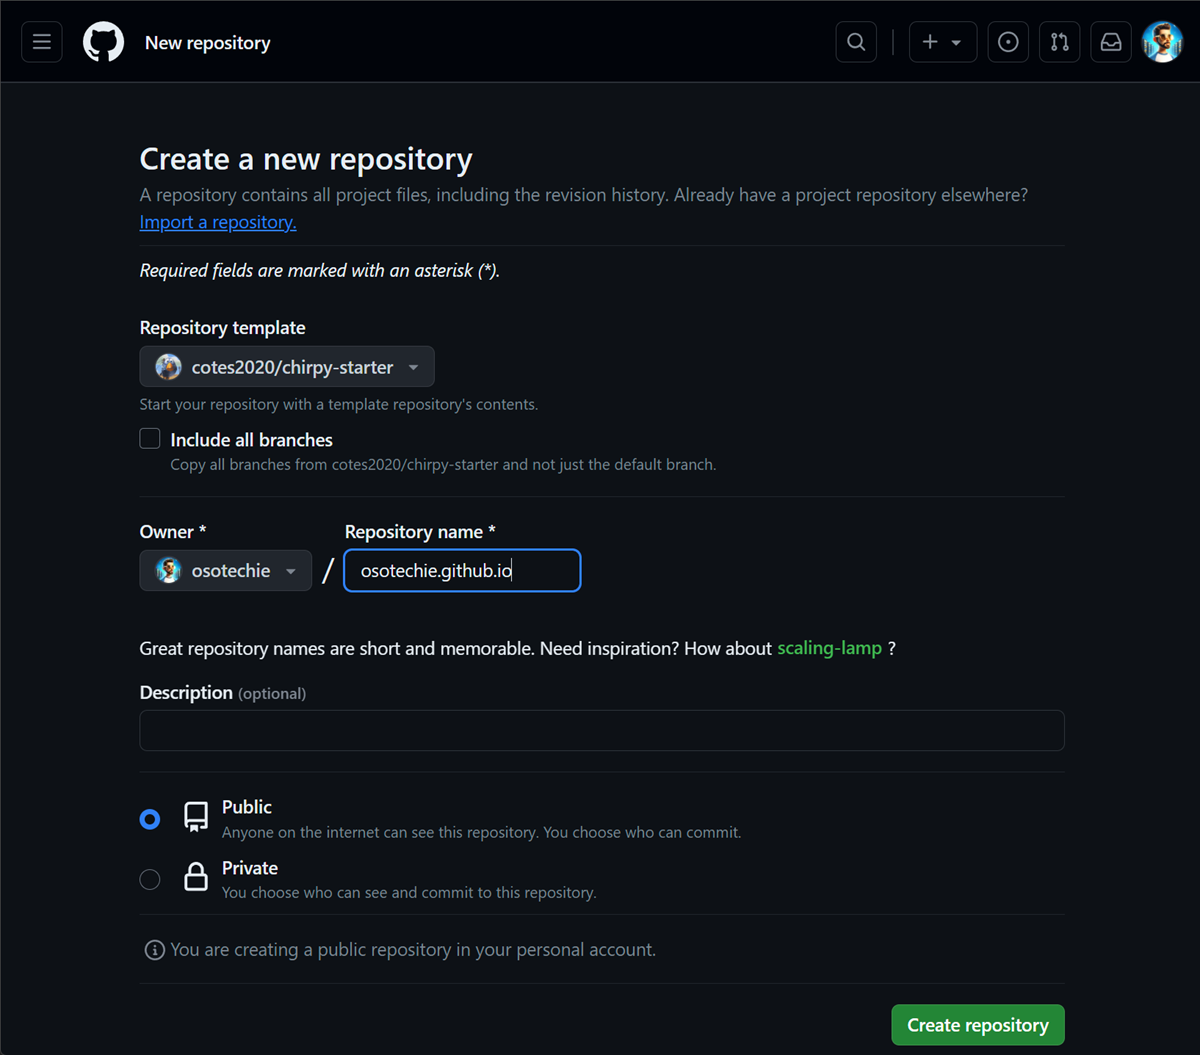 Creating a new GitHub repo using the Chirpy Starter template
Name the new repo
USERNAME.github.io, whereUSERNAMErepresents our GitHub username.We will set the access permissions to Public as we are going to hose our site using GitHub Pages.
GitHub Pages is available in public repositories with GitHub Free and GitHub Free for organizations, and in public and private repositories with GitHub Pro, GitHub Team, GitHub Enterprise Cloud, and GitHub Enterprise Server. For more information, see “GitHub’s plans.”
- Click Create repository
We now have the basis of our “Blog-as-Code” site, ready to go and can move on personalising it.
For more information about Chirpy Starter template, checkout the doc’s here
STEP 2: Configure it
Before we jump into creating and updating content to our site. We need to modify several files that control the configuration of the site.
These files are:
/_config.yml- the main configuration file for our Chirpy theme’d Jekyll site/_data/contact.yml- manages the contact options displayed at the bottom of the sidebar/_data/share.yml- manages what platforms visitors can share our articles to
I use VSCode for the Web as my IDE to work on GitHub repo’s. You can use VSCode for the Web from any modern web browser, to easily access your GitHub repos to bulk edit files and commit changes back to your repo. Check out this quick intro video to VSCode for the Web
_config.yml
This is the main configuration file for the site. This has a number of variables we want to update to make the site our own.
Use the included comments (pre-fixed with ‘#’) to guide you through making the required changes to the _config.yml file.
We can use the same ‘#’ pre-fix to comment / uncomment lines we don’t wan’t to use / include in our configuration (e.g. social links). This is a better approach then simply deleting options from the file, as we may want to use them in the future.
The following is an extract of my /_config.yml file from my setup:
1
2
3
4
5
6
7
8
9
10
11
12
13
14
15
16
17
18
lang: en
timezone: Pacific/Auckland
title: O so techie
tagline: Technical Specialist | Smart Home Enthusiast | Full Time Tinkerer | 🇳🇿
description: >-
  The ramblings of my adventures into all things technical, both from a personal and work life perspecitve. Expect everything from topics about Smart Home Automation and Home Labbing, to DevOps and AI (all personal interests) to more work related content around evertyhing Microsoft.

url: "https://osotechie.com"
github:
  username: osotechie
twitter:
  username: nz_O_
social:
  name: O so techie
  links:
    - https://twitter.com/nz_O_
    - https://github.com/osotechie
    - https://www.linkedin.com/in/owendemooy
There are a few more variables we will update later once we have everything setup.
_data/contact.yml
This file controls which contact options are displayed at the bottom of the left sidebar of our site.
The following is an example of my /_data/contact.yml file from my setup:
1
2
3
4
5
6
7
8
9
10
- type: github
  icon: "fab fa-github"
- type: twitter
  icon: "fa-brands fa-x-twitter"
- type: linkedin
  icon: 'fab fa-linkedin'
  url: 'https://www.linkedin.com/in/owendemooy'
- type: rss
  icon: "fas fa-rss"
  noblank: true
YAML Files can be a bit of fun syntax wise, so make sure you have the right tabbing and syntax structure. Otherwise the GitHub Action that generates our sites content will fail (more on this later), like it did for me at first.
_data/share.yml
This file controls what platforms visitors can share your articles to.
The following is an example of my /_data/contact.yml file from my setup:
1
2
3
4
5
6
7
8
9
10
11
12
platforms:
  - type: Twitter
    icon: "fa-brands fa-square-x-twitter"
    link: "https://twitter.com/intent/tweet?text=TITLE&url=URL"

  - type: Facebook
    icon: "fab fa-facebook-square"
    link: "https://www.facebook.com/sharer/sharer.php?title=TITLE&u=URL"

  - type: Linkedin
    icon: "fab fa-linkedin"
    link: "https://www.linkedin.com/sharing/share-offsite/?url=URL"
Personalise It
So we’ve configured our site, now its time to add our own personal flavour. Okay, okay, we already personalised it a bit in the previous step (I know 😁).
Now we are going to actually update the sites content, and add our own imagery. To do this we are going to do the following
- Add our own Avatar or the hero image at the top of the left side bar
- Create our own Favicons (based on our Avatar)
- Update the About page so people know what our site is all about
Add our own Avatar
So our site needs an Avatar (or Hero Image) to give it some identity. How you choose to create your own Avatar it up to you.
Make sure your avatar image is a 512 x 512 (1:1 ratio) so it displays correctly. This will also help with the next step where we use this to also create our favicons.
I used a bit of Microsoft CoPilot prompt magic to generate my own Avatar when I started the ‘O so techie’ journey. I use this across this site, GitHub account, and other socials. And as such will be referencing my GitHub Account Avatar URL to keep everything in sync.
If you aren’t linking your Avatar image to your GitHub account or another Social platform. I would suggest uploading the image to ‘/assets/avatar.png’ for example so you can easily reference it.
Now we have our Avatar its time to update our site details, for this we will update the /_config.yml:
1
avatar: https://avatars.githubusercontent.com/u/34251619?s=400&u=4569cab1b4280e33839357542cf31b8bbc19b2fc&v=4
If you are storing the image in your GitHub repo, remember to set the avatar value to ‘/assets/avatar.png’ for example.
Create our own Favicons
Okay so when I first set this all up, I missed this step, and wondered why when I shared my site with others, or looked at the browsers tab icon for my site it was the default chirpy icon.
Well it turns out we have to generate our own Favicons, thankfully this is not as hard as it sounds, and we can use our Avatar as the source image.
To make this whole process easier we are going to use this handy tool Real Favicon Generator to create all the required files (and a few more that we don’t need).
The Generator needs a source image that is at least 512 x 512 to generate all the different favicon files we need
- Browse to Real Favicon Generator
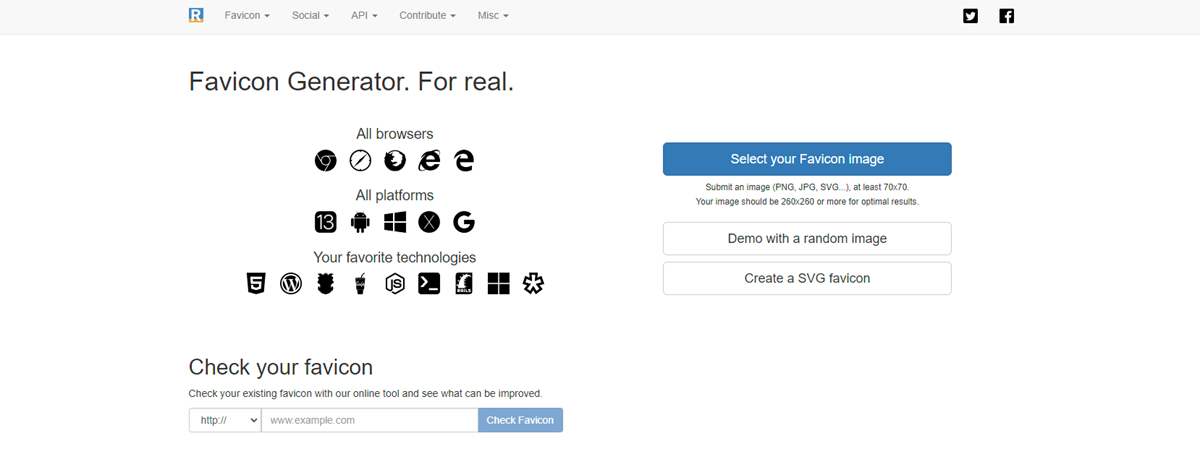 Create your Favicons using Real Favicon Generator
Click Select your Favicon image to upload your image
Accept the deafult usage scenarios, and scroll to the bottom of the page
Click Generate your Favicons and HTML code
Click Favicon Package to download the generated favicons
Extract the contents of the download, and remove the following files
browserconfig.xmlsite.webmanifest
Upload the remaining files to our GitHub repo to replace the original files in the direcotry
/assets/img/favicons/(if the directory doesn’t exist just create it).
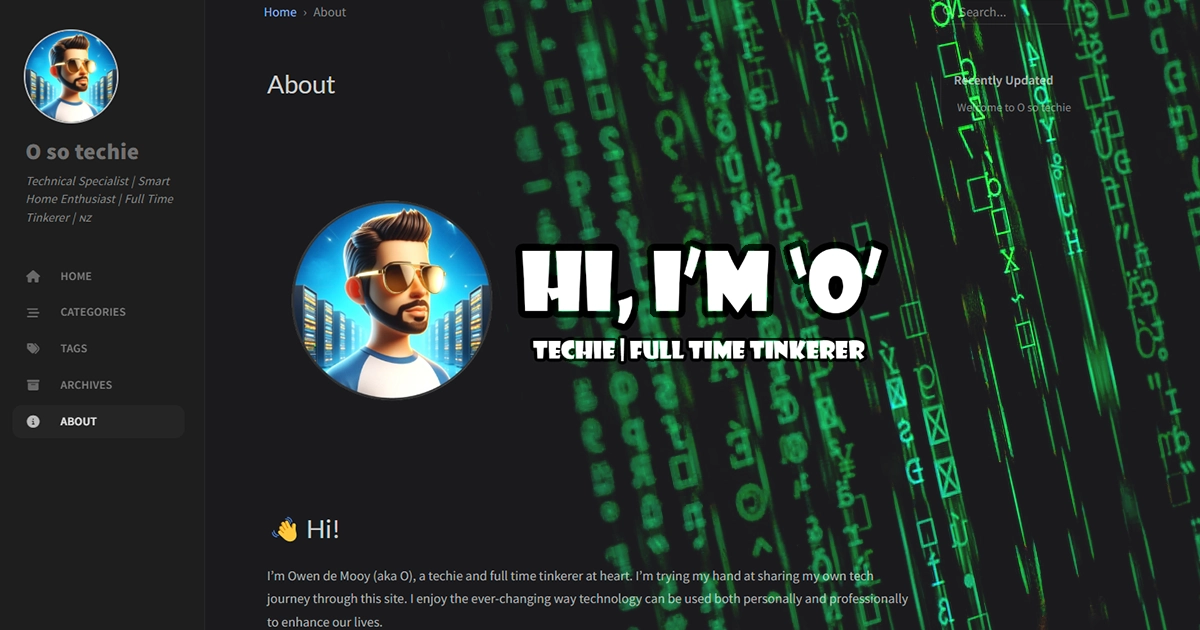
Tell them About our site
Lets tell people a little about ourselves and our site. To do this we are going to start writting our first markdown. As the about page content is stored in its own markdown file /_tabs/about.md.
Want to learn the basics of writting mardown, check out the markdown guide here.
The following is an example of my /_tab/about.md file from my setup:
1
2
3
4
5
6
7
8
9
10
11
12
13
14
15
16
17
18
19
20
21
22
---
# the default layout is 'page'
icon: fas fa-info-circle
order: 4
---

# 👋 Hi!
I'm Owen de Mooy (aka O), a techie and full time tinkerer at heart. I'm trying my hand at sharing my own tech journey through this site. I enjoy the ever-changing way technology can be used both personally and professionally to enhance our lives.
I have been following a number of people, groups and organisations across social platforms for years that have inspired my own growth and want this site to be a way of paying it forward. I am a strong believe in sharing my learnings with others in my team, customers, and industry peers as it helps drive collective growth, and hope this will provide another outlet to continue that growth both personally and collectively with you all.
The following is just some of the wide range of topics I hope to discuss and cover.
* Smart home tech and gadgets
* Home Automation
* HomeLab
* DevOps
* Artificial Intelligence
* Modern Work + Security <i>(some more work related content)</i>
STEP 3 - Enable GitHub Pages
Before we close out Part 1 of our “blog-as-code” series, we will enable GitHub Pages and the GitHub Action so Jekyll can automatically generate the static site content that GitHub Pages will then present our visitors.
I’m not sure if this was just an issue for me, but when I ran through this process GitHub Pages was not properly enabled on my repo. So I had to do the below to enable it.
Open our GitHub Repo
SettingsSelect
Pagesfrom the settings pageChange the Build and Deploy
SourcetoGitHub Actions
Now when we commit changes to our repo, the GitHub Action will automatically run and re-generate our site content. If the action fails for any reason (like it did for me, because nothing works the first time right 😉) you can check out the logs under the Actions tab in your GitHub repo.
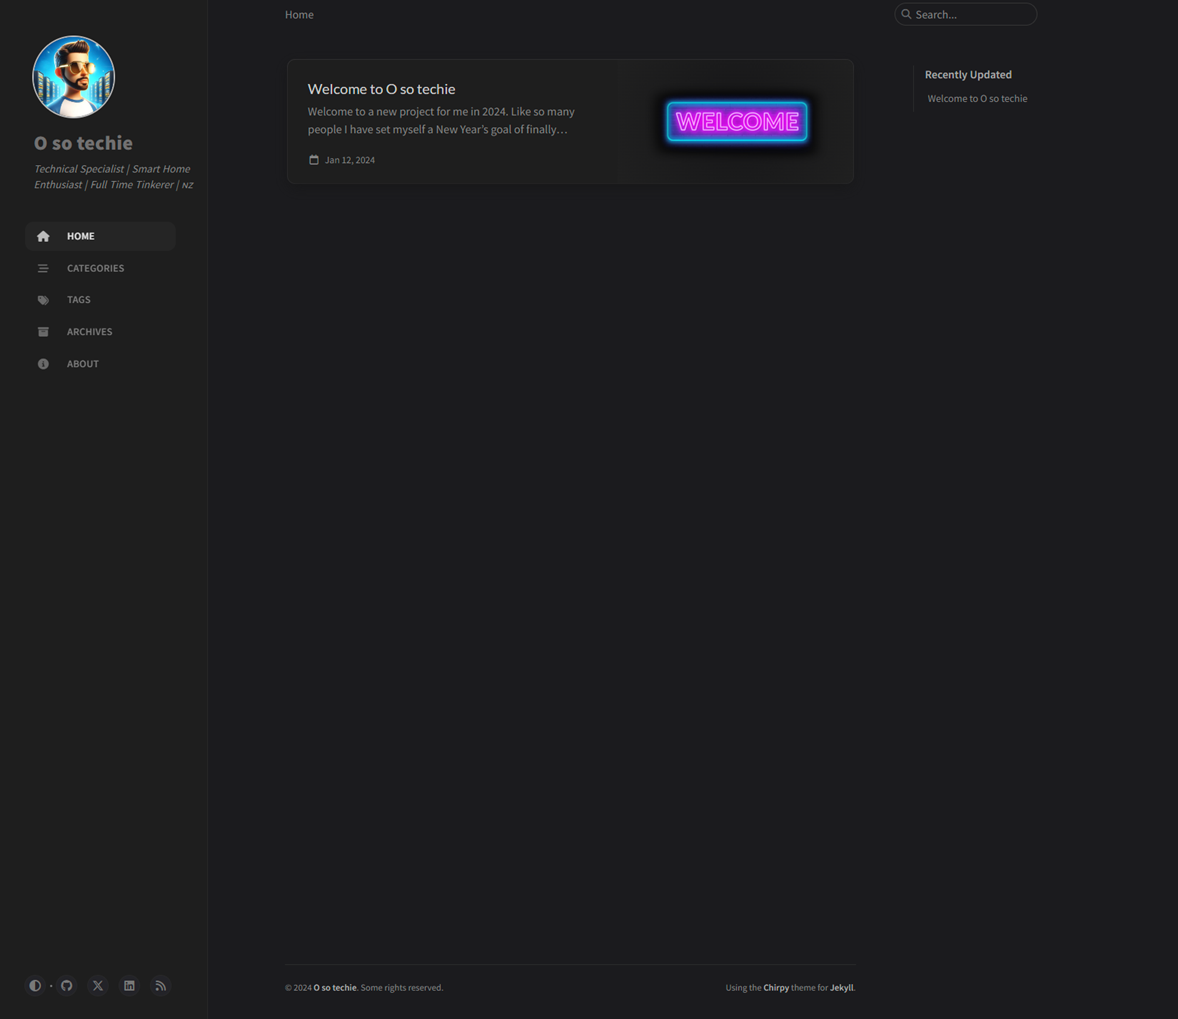
And now if you got this far, you should be able to browse to your very own “blog-as-code” site on GitHub Pages, using the following address format:
https://USERNAME.github.io, whereUSERNAMErepresents our GitHub username.