Blog-as-Code - Dev Containers (Part 2)

Welcome to Part 2 of the “Blog-as-Code” series. As a recap in the previous post, we got the foundation of our site up and running.
Today we are going to focus on the day-to-day aspect of how we “develop” our site, and what I’ve learnt along the way that might make things easier for you (I may have spent the last few days down some rabbit holes trying different things).
Dev Containers (or GitHub Codespaces), but why?
Okay so why am I talking about Dev Containers (or GitHub Codespaces), especially after telling you how I normally use VSCode for the Web to work with my repos / projects.
Well, it all came about after tinkering with Jekyll and trying different content management methods (especially dealing with draft posts, as they sometimes take several days to complete😁) and realising that I really need to spin up a development environment with everything so I can preview posts locally.
So, I need a local development environment, okay but I want to isolate my development environment from my normal day-to-day PC experience. And I want something that will be consistent and easy to maintain. Well that pretty much sums up some of the main reasons to use Dev Containers.
Before I went down the rabbit hole of using Dev Containers (and that was a journey of 😣 and sudden 🙌 moments), I tried a few other concepts that Jekyll “supposable” supports but don’t seem to work how I expected. These attempted to hide posts through Front Matter variables (more on this in the next part of this series). But as I quickly discovered they only hide the post from the main page, not other parts of the site like Archives or the Recently Update section (🤦♂️hardly keeping them hidden is it), or just not generating them at all!
Front Matter is like meta data for your posts, it contains variables for all sorts of things, including options to make a post hidden, visible, or published these all work in different ways, but not how I wanted:
Hidden: trueandvisible: 1hides the post from the main page, but not those other areas of the site.Publish: falsetells Jekyll site generator to skip these files. Unless you add the option--unpublished. So you need to run a separate generation and hosting process to view unpublished posts. Similar to what I am actually doing with drafts.
Developing inside a container
Dev Containers are great way to create a consistent isolated development environment (from your local computer), providing all the tools and dependencies, you need to work on your project. And even better we can also use them in this instance to test our site locally before pushing it to GitHub Pages. 😊
For more information about developing inside a container checkout the documentation from Visual Studio Code here
GitHub Codespaces is a cloud hosted environment for running dev containers. GitHub Free for personal accounts get 15GB storage per month and 120 Core hours per month (more information on usage) enough for most personal development needs.
Setting up our Dev Container
Okay so how do we setup our dev container, it’s reasonable straight forward. We just need to create a definition file (devcontainer.json) that tells VSCode (or Codespaces) about our containerised development environment.
I am going to save you some time and provide a working example of the devcontainer.json I am using to develop my site. As I learnt a few lessons along the way, and this should help speed things up for you.
If you are going to run your Dev Containers locally, you need to first make sure you have all the system requirements installed.
Note: The above system requirements assume you already have things like VSCode and Git installed on your local system. If you don’t you will also want to install those, as they will be needed to launch your Dev Container locally, and clone your GitHub repo.
1
2
3
4
5
6
7
8
9
10
11
12
13
14
15
16
17
18
19
20
{
	"name": "Osotechie.com site",
	"image": "mcr.microsoft.com/devcontainers/jekyll:2-bullseye",

	"customizations": {
		"vscode": {
			"extensions": [
				"oderwat.indent-rainbow",
				"vscode-icons-team.vscode-icons",
				"bierner.markdown-mermaid",
				"GitHub.vscode-github-actions",
				"davidanson.vscode-markdownlin"
			]
		}
	},

	"postStartCommand": "bundle exec jekyll server --livereload --draft --incremental --force-polling",

	"remoteUser": "root"
}
Okay so lets breakdown the contents of the above file and describe what each setting:
"image":defines the base docker image our dev container is built from. The image in the above example includes everything we need to generate (and preview) our Jekyll based site.-
"customizations": { "vscode": { "extensions": [ ] }defines a list of VSCode Extensions we want to add to our IDE inside the container. I have provided a list of several useful extensions I like to use.For more VSCode Extensions, browse the VSCode Extensions Marketplace.
-
"postStartCommand":defines commands to run once the container has started. In the above example the command is set so Jekyll generates and hosts a copy of our site.The following outlines the arguments we are passing to Jekyll to improve our development experience
"--livereloadensures Jekyll runs a livereload service that helps browsers automatically refresh the site"--drafttells Jekyll to generate the content in the _drafts folder (more on this in the next part of this series)"--incrementaltells Jekyll to monitor files for changes and regenerate the site with the new content"--force-pollingis a fix to ensure –incremental works on some systems, as sometimes the container does not get notified about file changes
"remoteUser: "”– defines what user within the container you will be running things as.
This file needs to be added to your GitHub repo either in the /.devcontainer folder (which you can create if it doesn’t exist), or the root of the repo.
Okay so there were the two main lessons learnt when I was building and testing my Dev Container.
- Don’t use the
"PostCreateCommand"option, it causes an issue with the .gitconfig file being populated with your Git credentials from the local machine. I spent far too long trying to solve this issue 😤- There is a file ownership issues between Windows and Linux containers, that means that files in the repo may have a owner of root. This causes file access issues (as by default the image runs under the user ‘vscode’), and also a warning that the repository is unsafe. Setting
"remoteUser": "root"however ensures we are running as root and have access to everything.
Starting our Dev Container
We are finally ready to start our new development environment. Let’s step through the process to launch it locally.
-
Launch Visual Studio Code
-
Press F1 to bring up the VSCode Command Palette
-
Type
Dev Containers: Clone Repository in Container Volume...to start the process of cloning your repo -
Paste the repo URL (from step 1) into the Command Palette
e.g.
https://github.com/osotechie/osotechie.github.io.git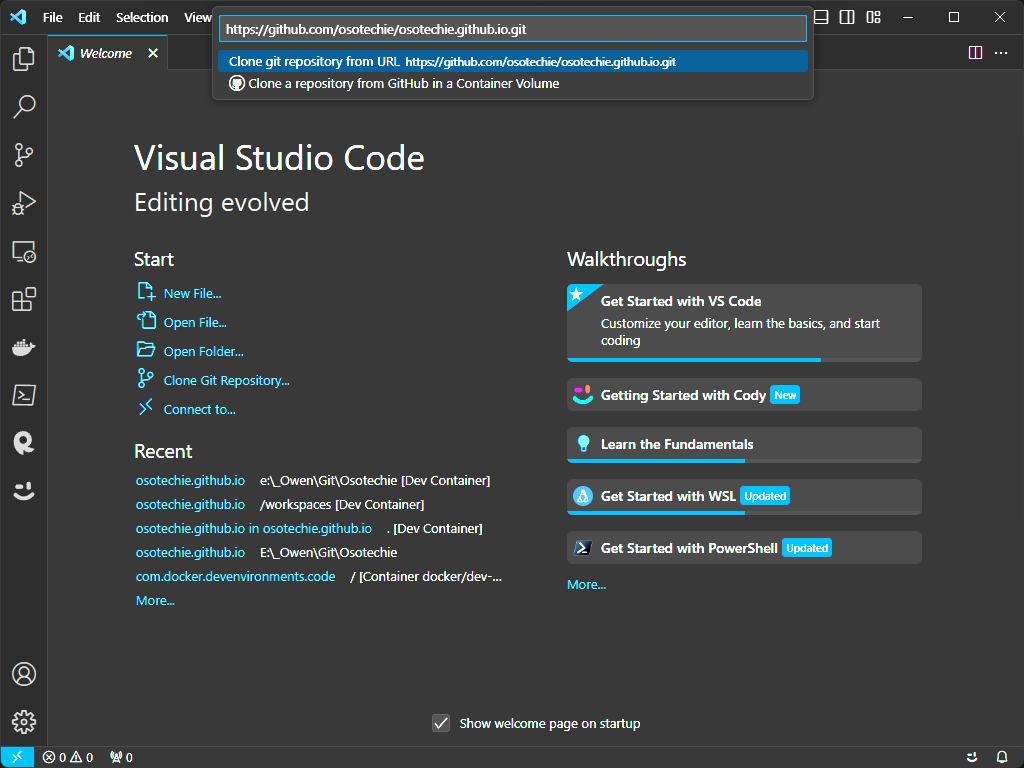
-
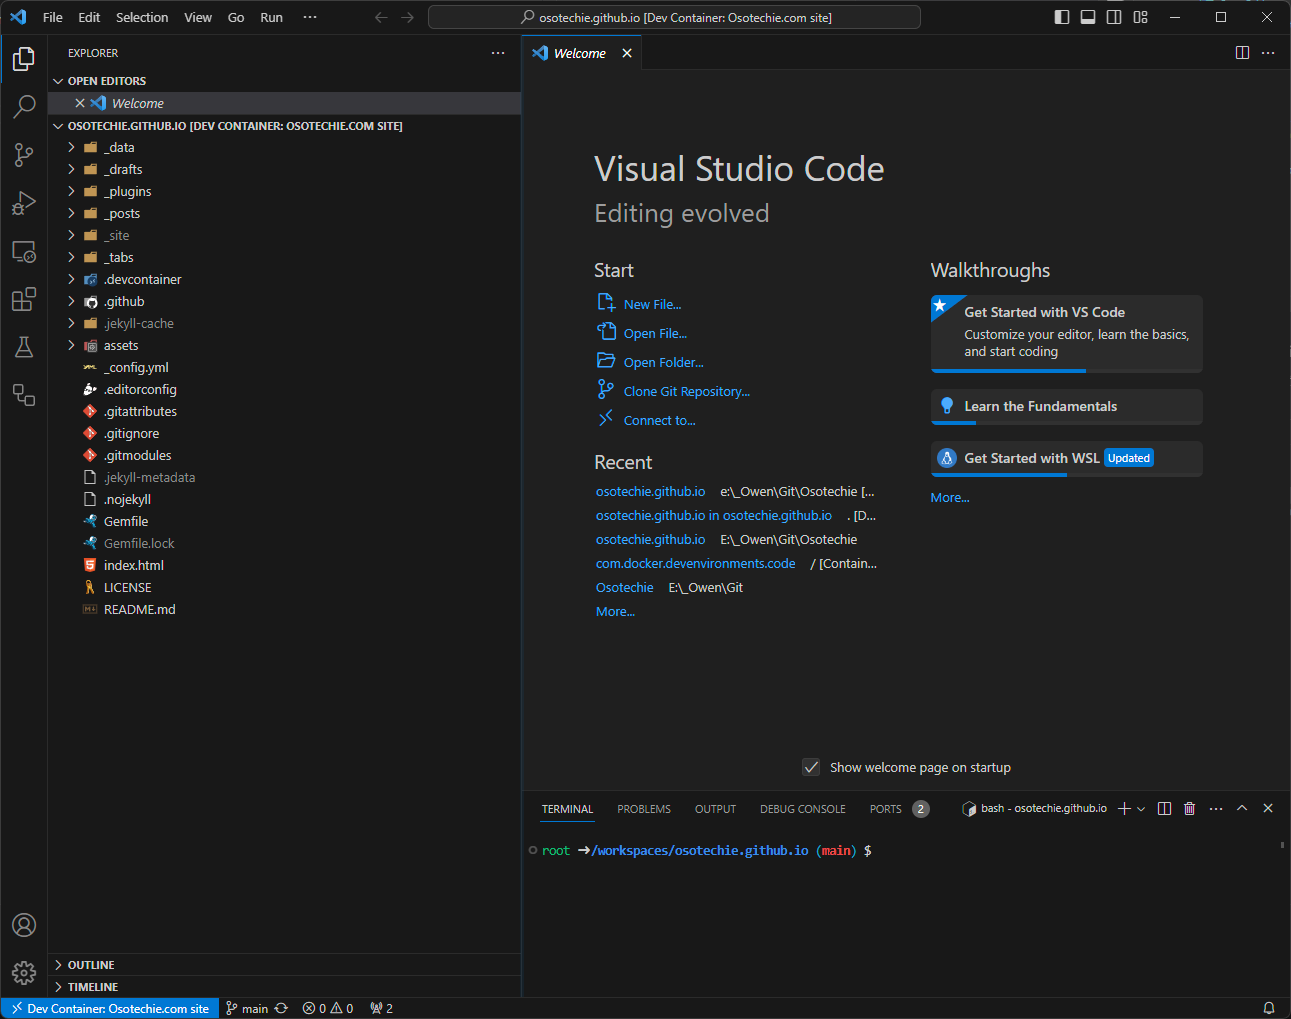
A new instance of VSCode will launch, and start building our development environment. This will take a min or two the first time. Opening the Dev Container next time will be quicker.
-
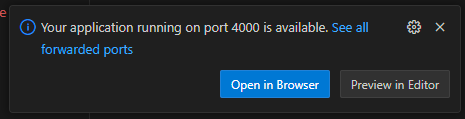
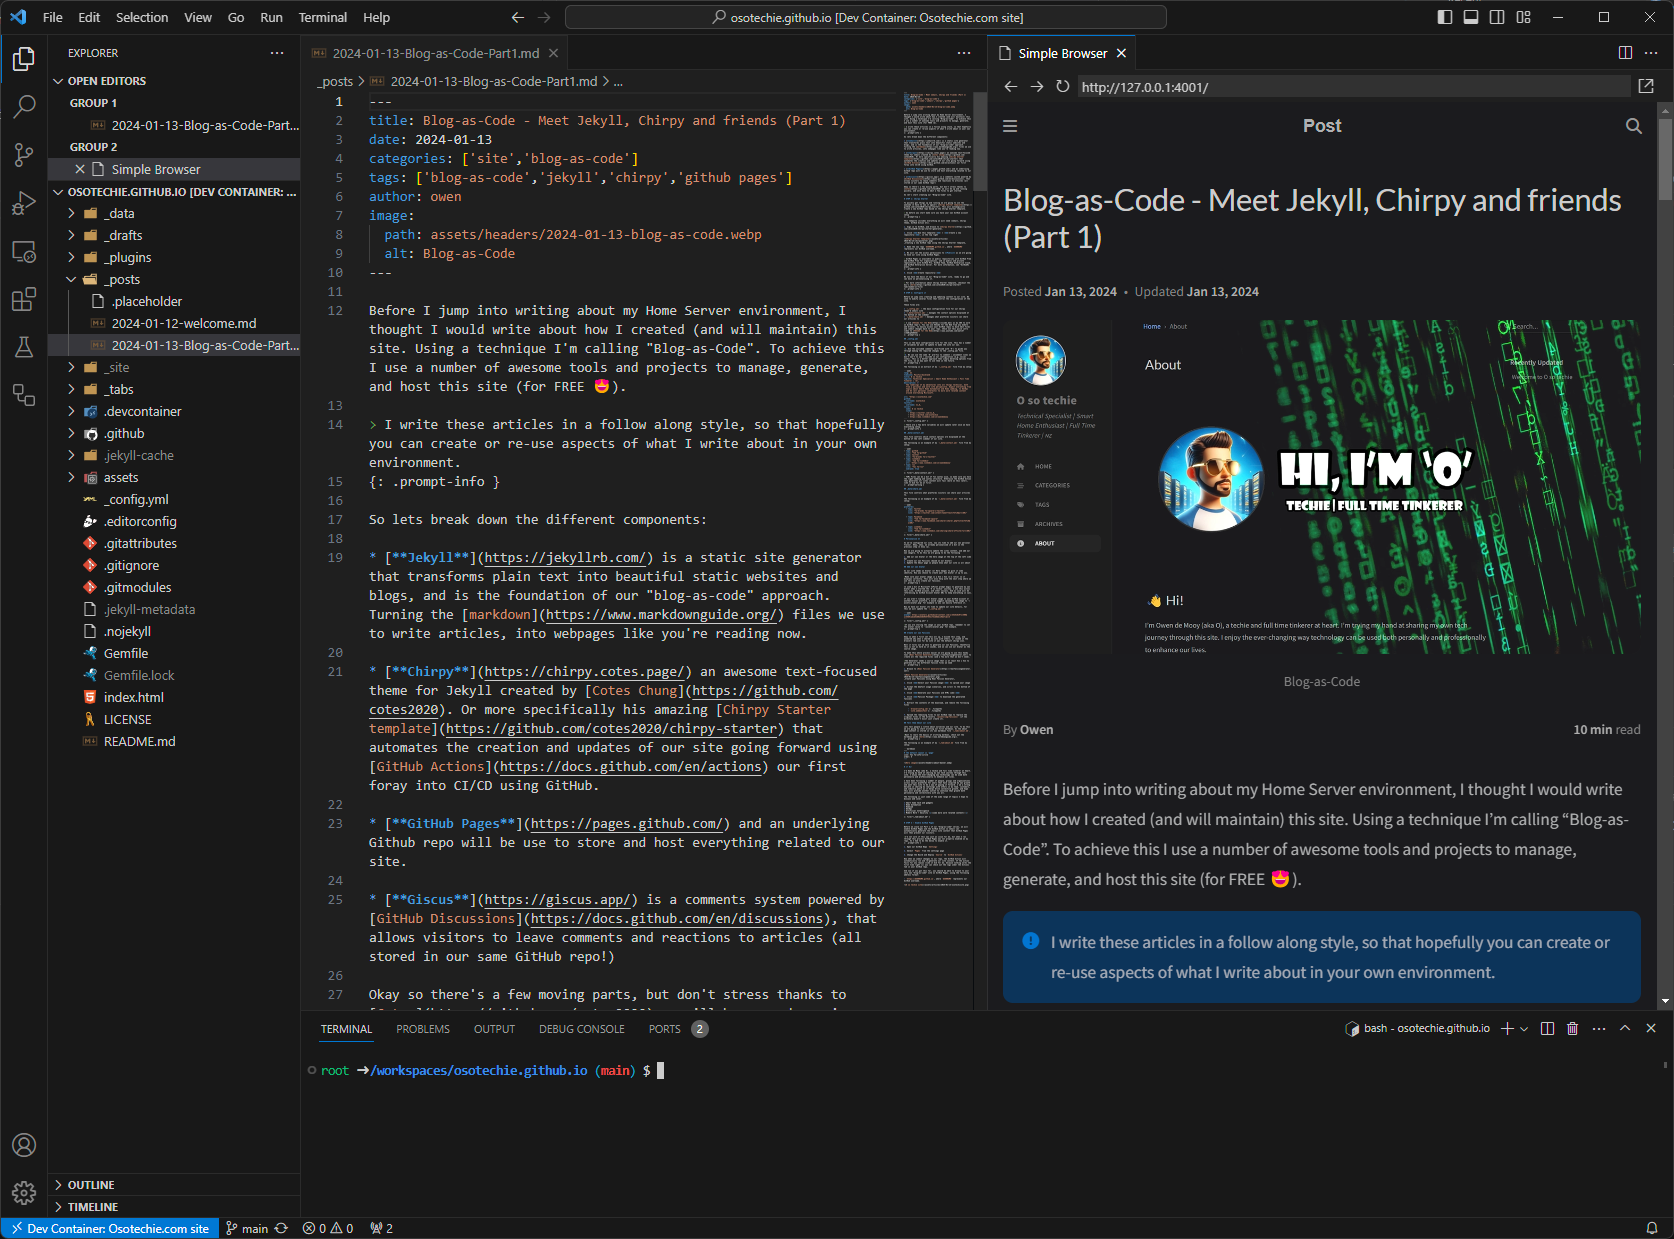
Once the container has started you should receive a notification in the lower right to open a preview of our site. I typically select Preview in Editor as it allows me to have the site preview, side by side with the aritcle I am working on.
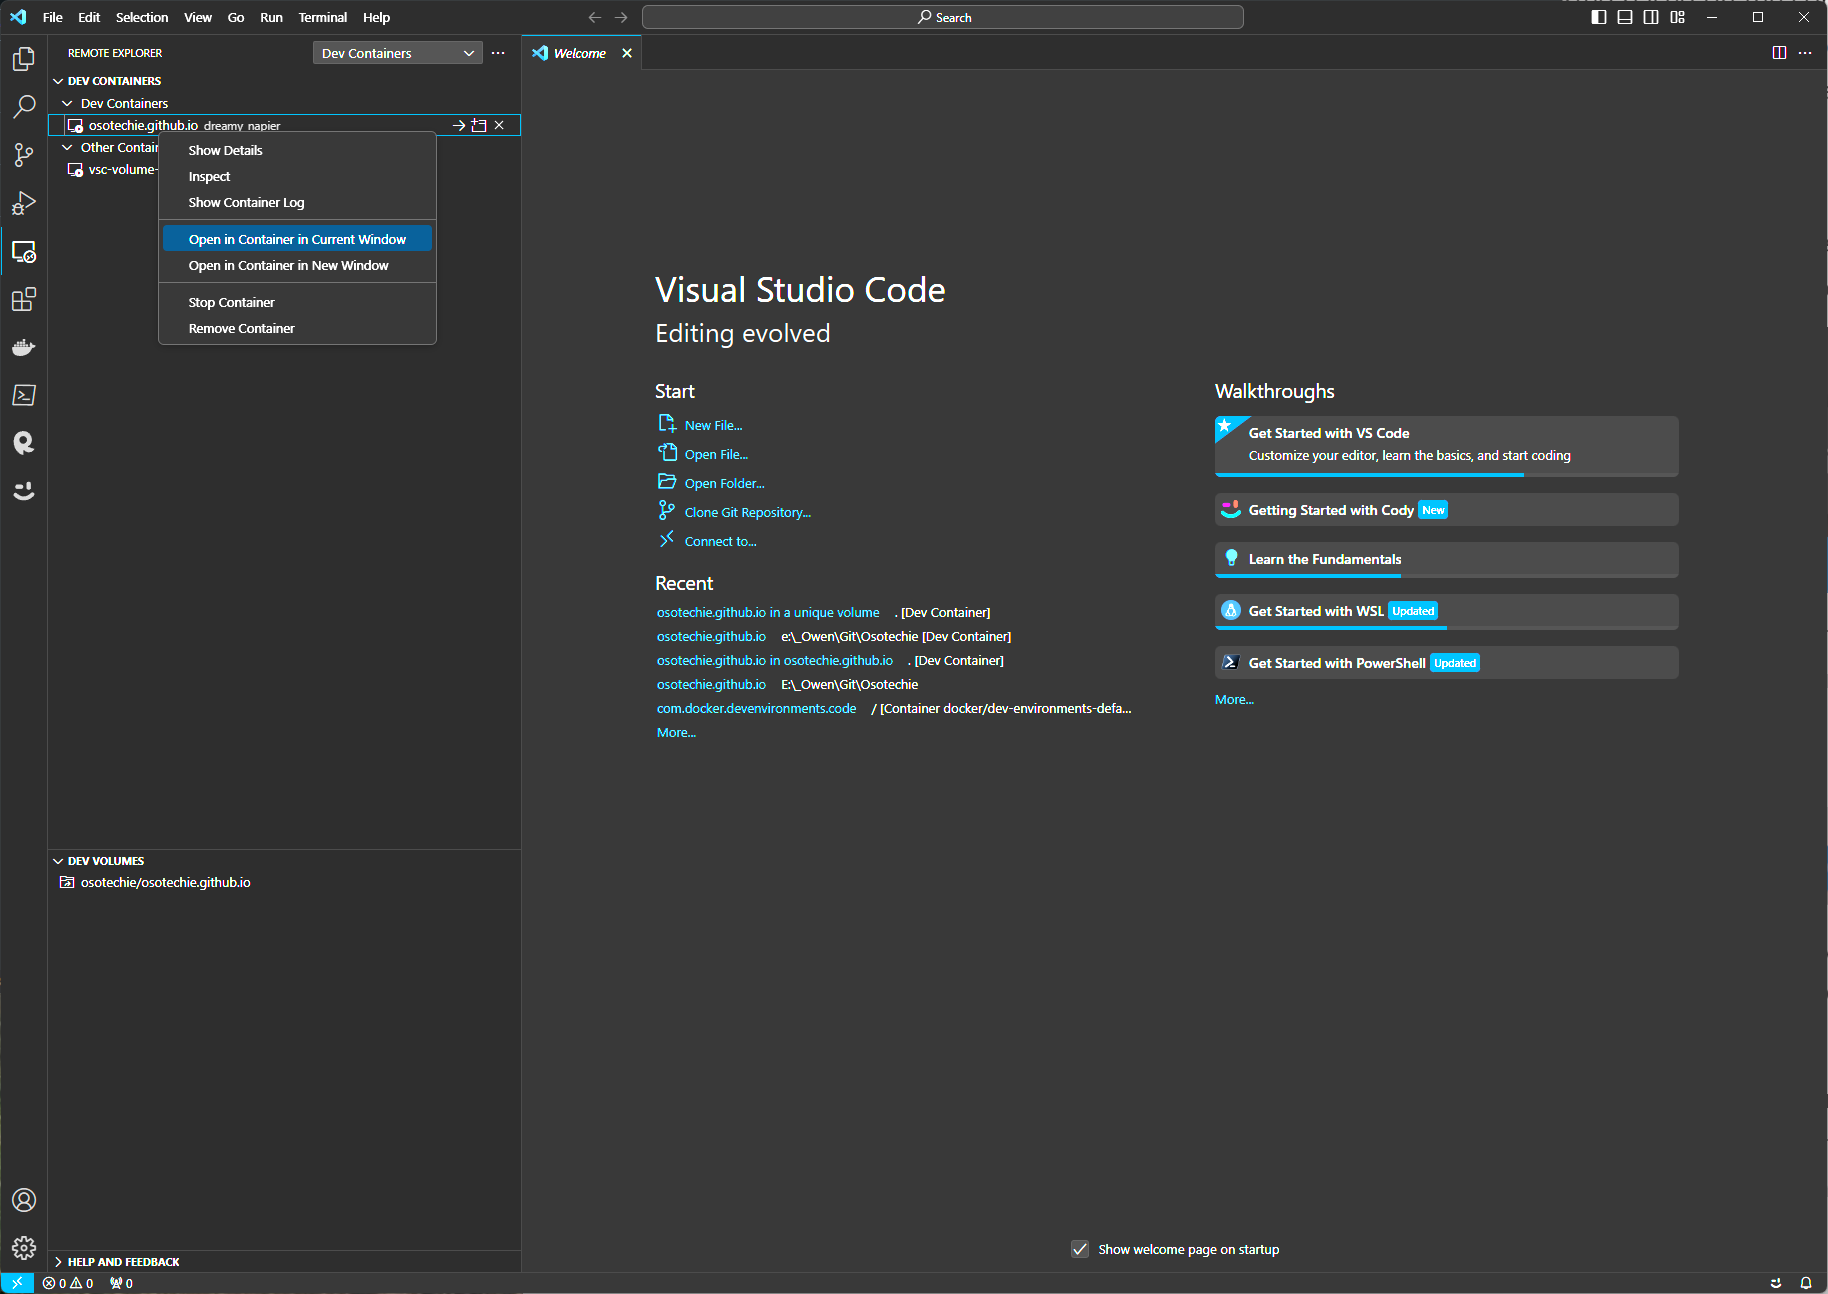
The Dev Container will automatically stop when you close the VSCode instance. If you need to re-open the development environment you can;
Use the
Open Recent >menu to find your dev container. It should have[Dev Container]at the end of the nameUse the
Dev Containers: Clone Repository in Container Volume...command, VSCode will re-open the existing container / volume, instead of creating a new oneUse the Remote Explorer to Open the Dev Container